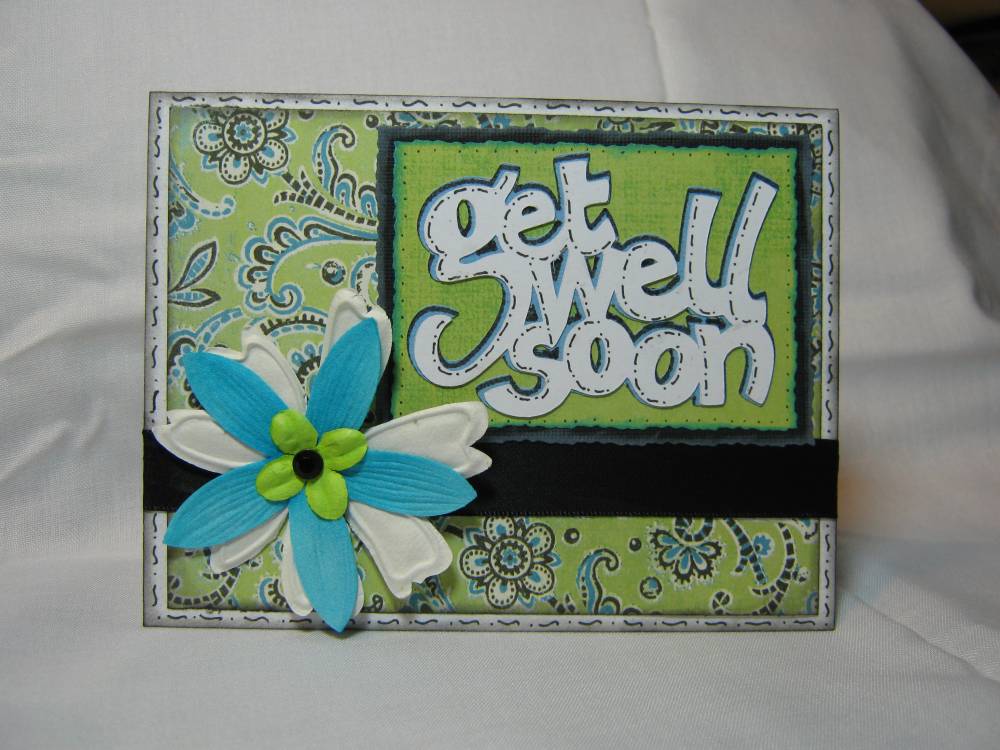
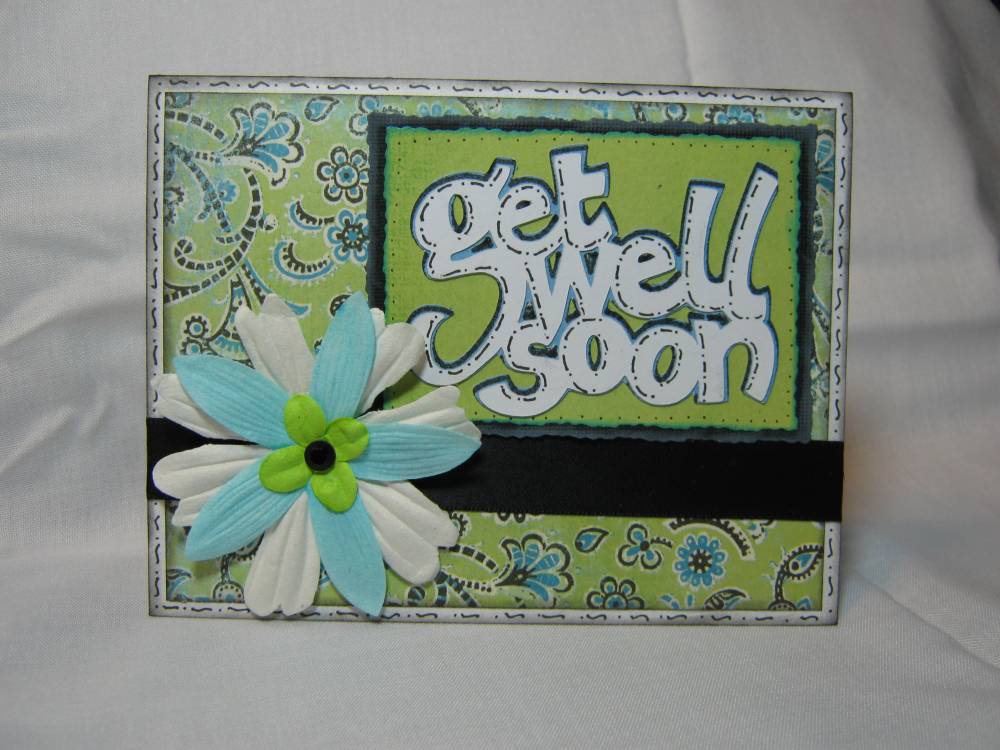
Well I was going to say there was no Cricut or Cuttlebug on these cards but there is! LOL I wanted to do some simple easy cards and these are the ones I came up with. The sentiments are Studio 112 and some Basic Grey. The paper is from some Basic Grey 6x6 mats and then also some card stock.
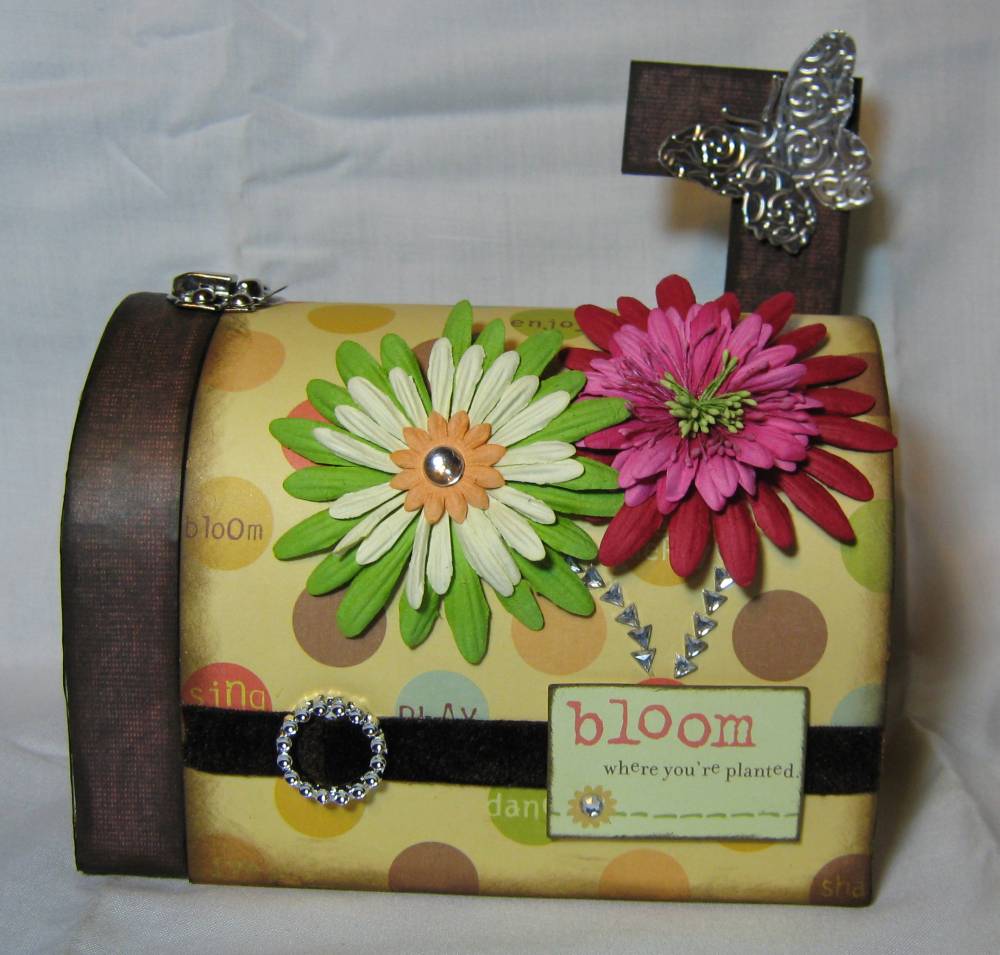
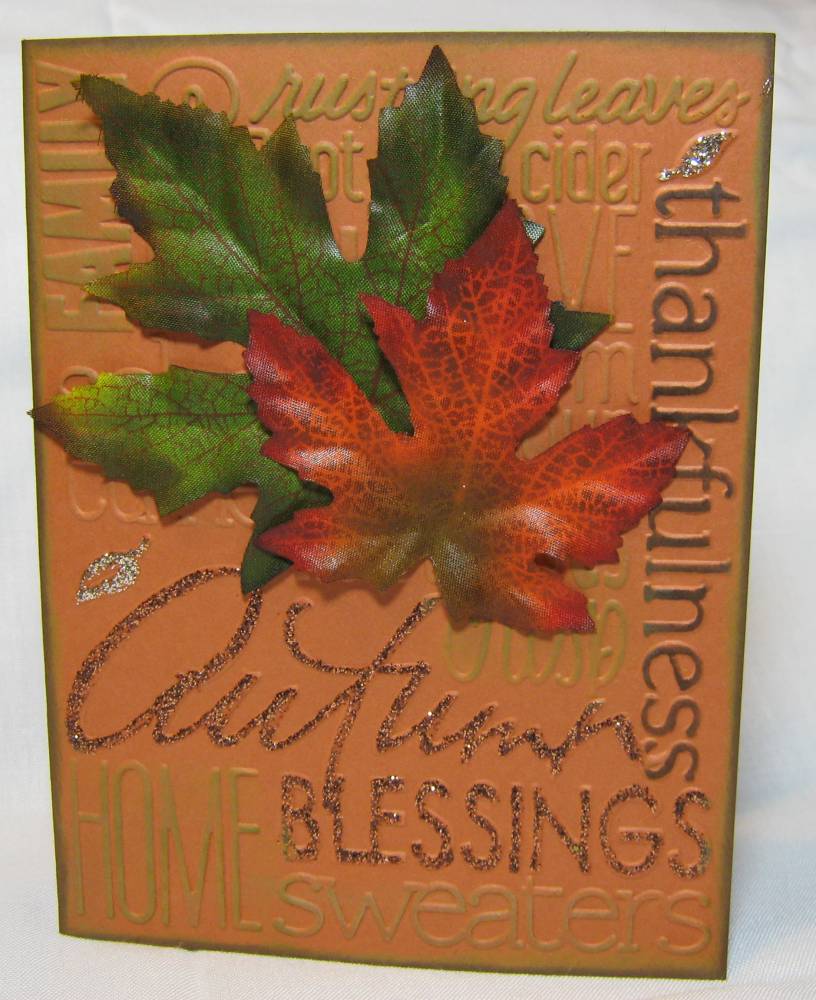
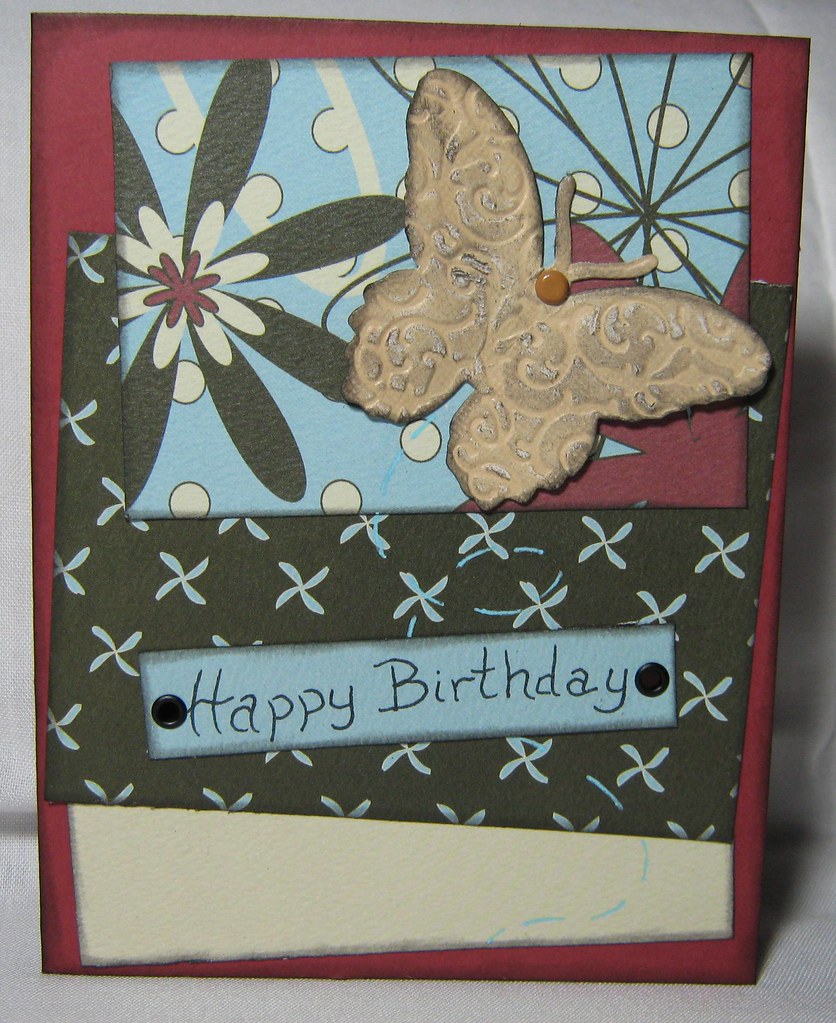
This first one does have a butterfly from the
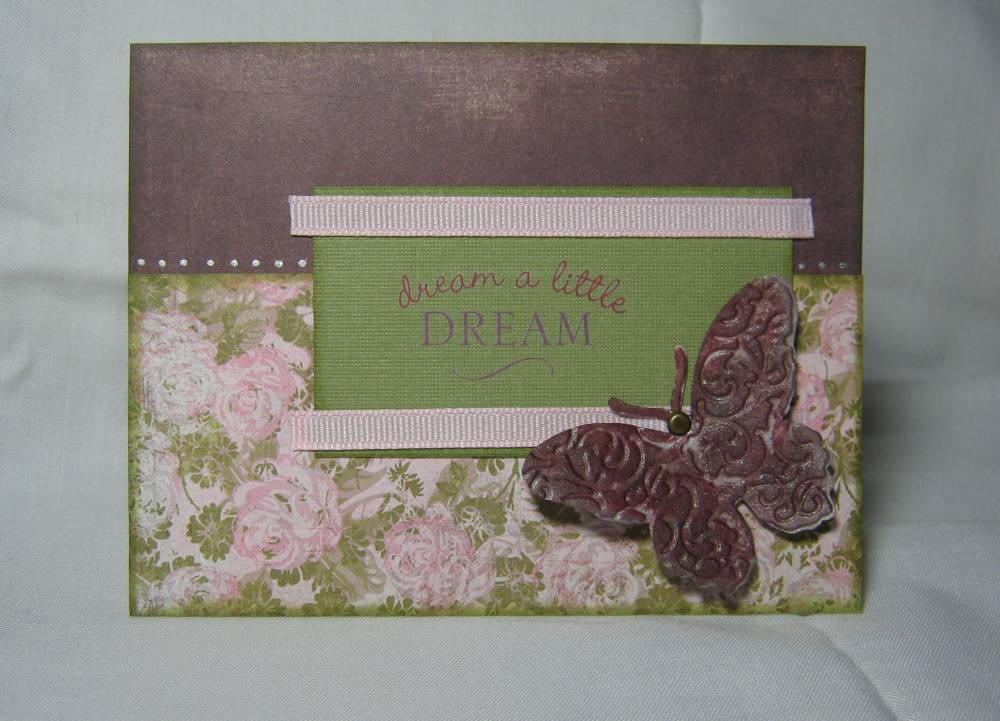
Cuttlebug Butterfly Tag Team set. I just LOVE LOVE LOVE.....did I say LOVE? these butterflies!! It is chipboard. I used some glimmer mist on it then used alcohol inks. I just found some paper that matched the butterfly. It was a very simple card to make and got the idea for the layout of it from
Page Maps. If you haven't tried that site you should! IT IS TOTALLY AWESOME!! And is listed on my favorite places! The dots along the card are a silver gel pen. I had a hard time not adding more things to this card but I wanted it simple so I resisted....but it was very hard!! Sometimes I think I just continue to add stuff until it ruins the project. I know there is NO ONE else that ever does such a thing.......RIGHT??
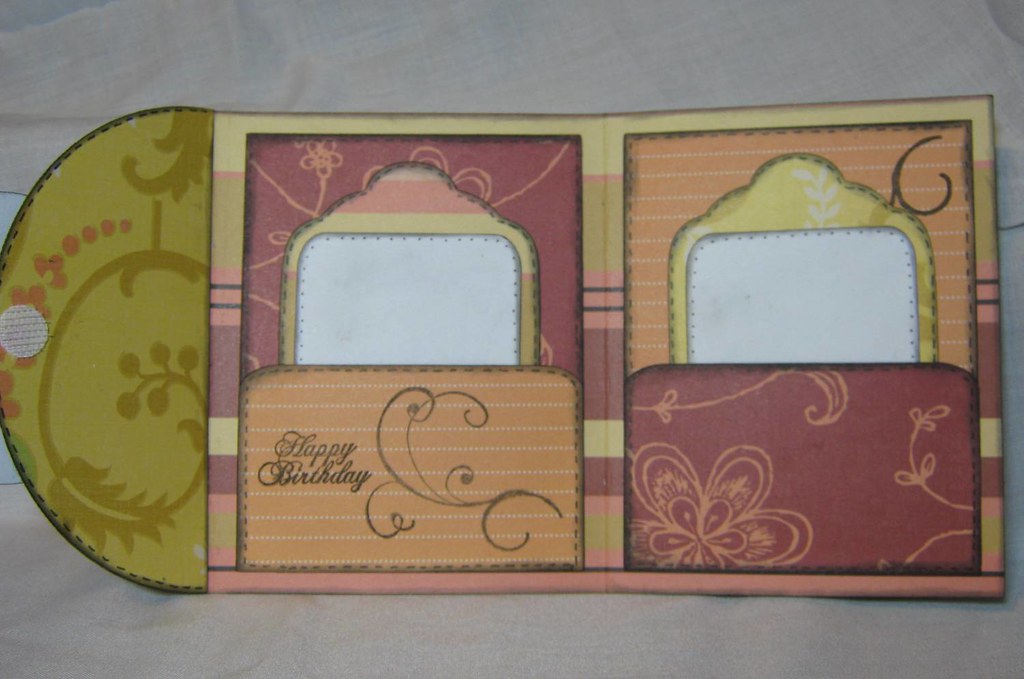
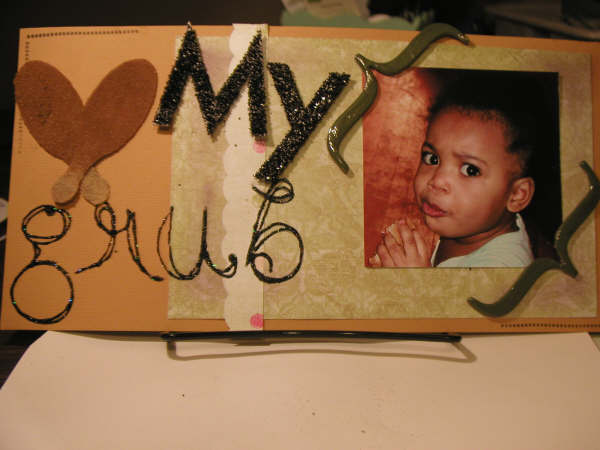
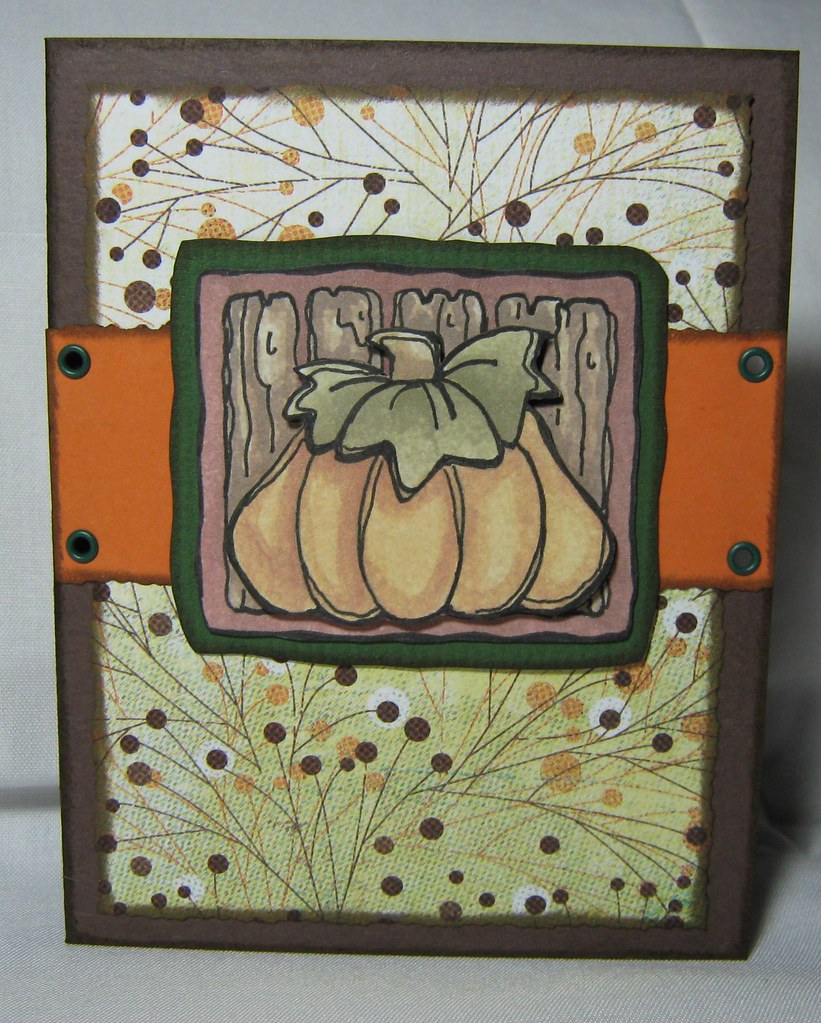
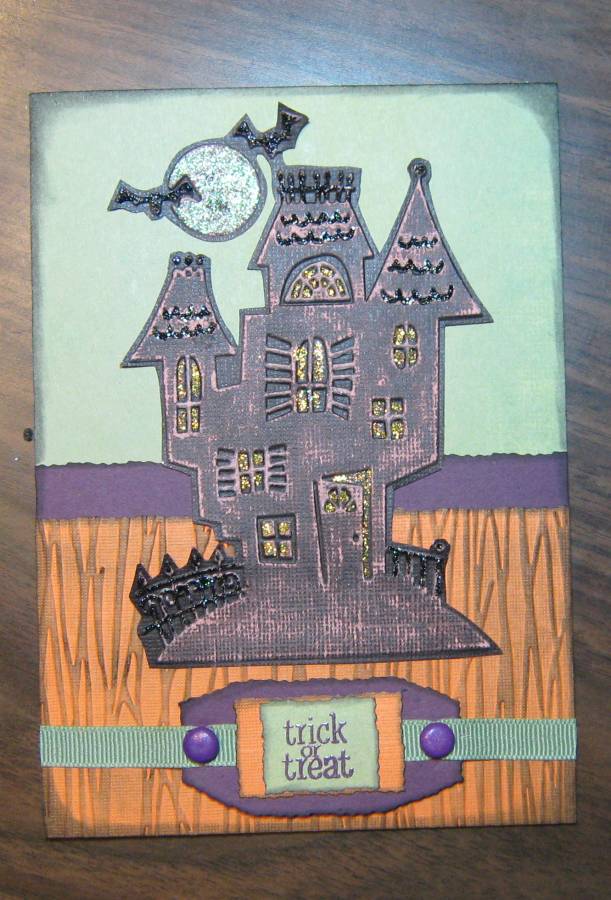
This card does have some leftov
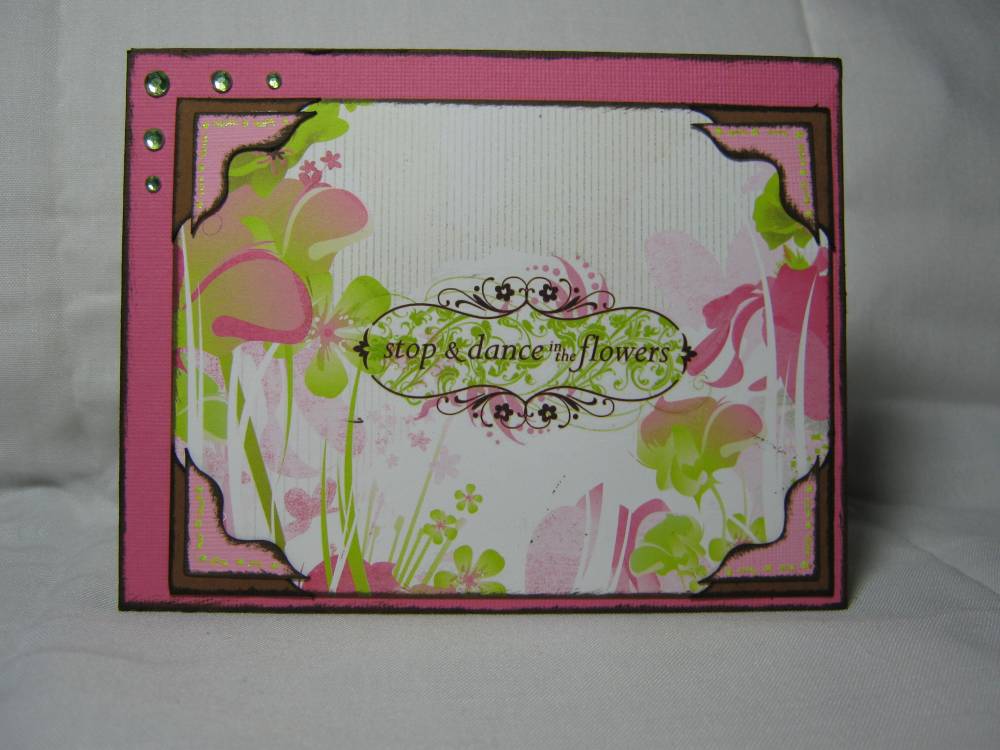
er photo corners from Jasmine. I layered them for effect.....okay actually I couldn't decide which color I wanted to use so I just used both! hee hee hee I did add a little bling to the card. I am trying to do better about using my supplies and stop the thinking mode of "OMG IF I USE IT I WON'T HAVE IT ANYMORE". I have to tell myself that I can always get more if I need to. The rubon is from a Basic Grey set. The inking is NOT cat eye. It is actually a cat eye pad that went dry and I now add some Tim Holtz walnut distressing ink to the pad. My LSS owner gave me this idea and it works great!! However I have been known to put too much ink on the pad and make a huge mess....but we won't talk about that. At least I won't. So....ssshhhh!!
Okay not sure if you can see it or not but the rubon says LAUGHTER.

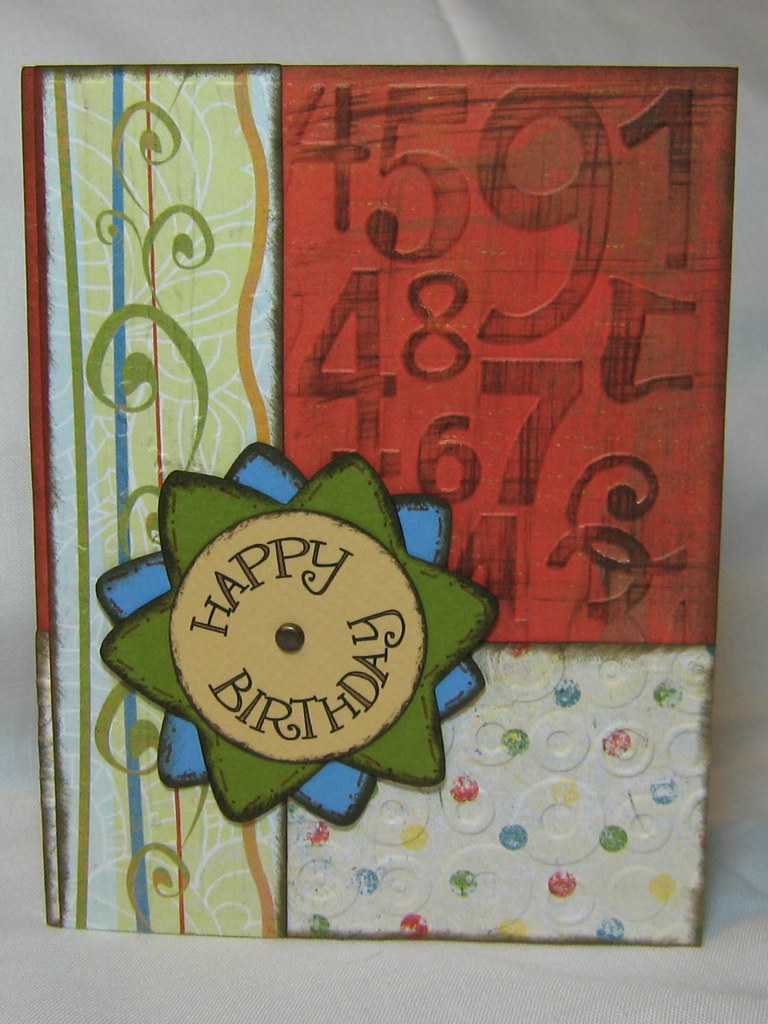
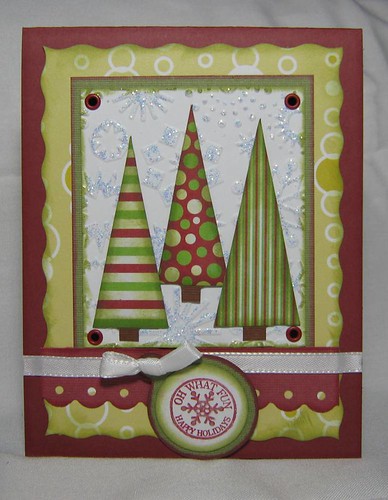
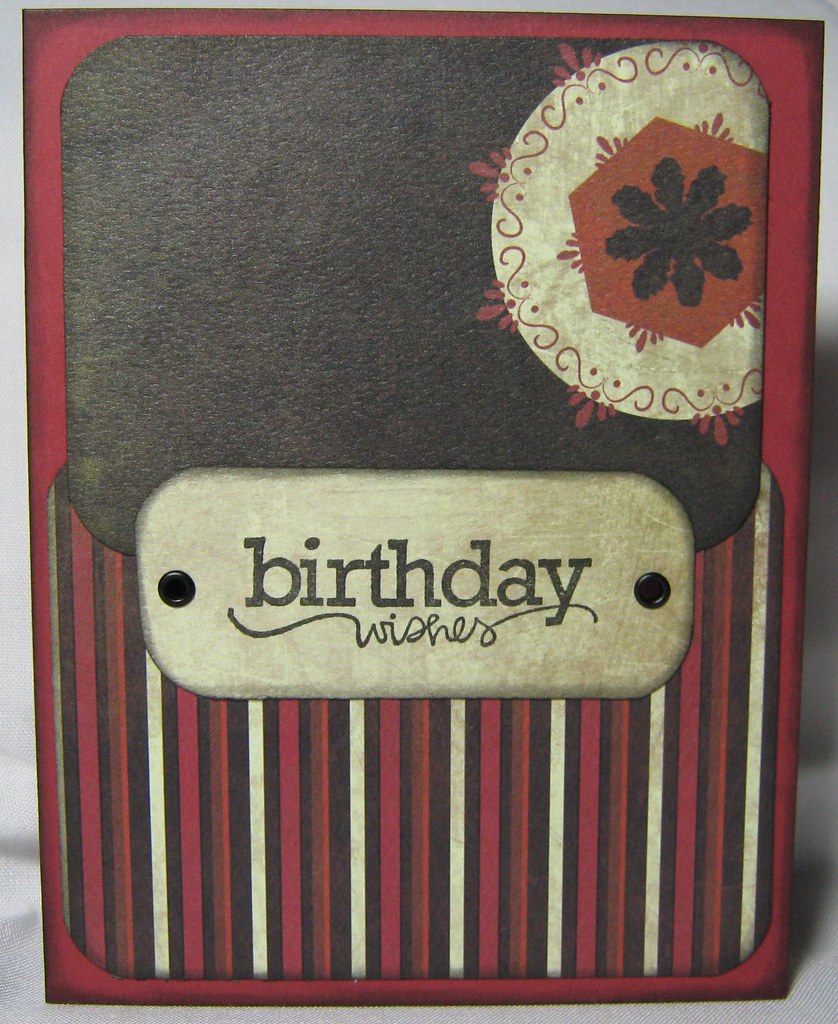
I used a Prima flower on this one. For the center I cut a chipboard circle and colored it with some cat eye ink and then embossed it. Well I didn't like how it looked so I added some Glossy Dimensional accent.......didn't like that either so I added Stickles.....FINALLY I LIKED IT! LOL The charm is one I got years ago at Wal-Mart during my Christmas Stocking phase
*side note: Christmas stocking phase was when I made Christmas stockings with material scraps and added ribbon, charms and whatever suited my fancy at the time...now back to the regular scheduled blog post* The 3 small dots at the bottom are Robin's Nest accents. My friend Scrappinbee sent me a few bottles of those and THEY ARE LOVELY!!
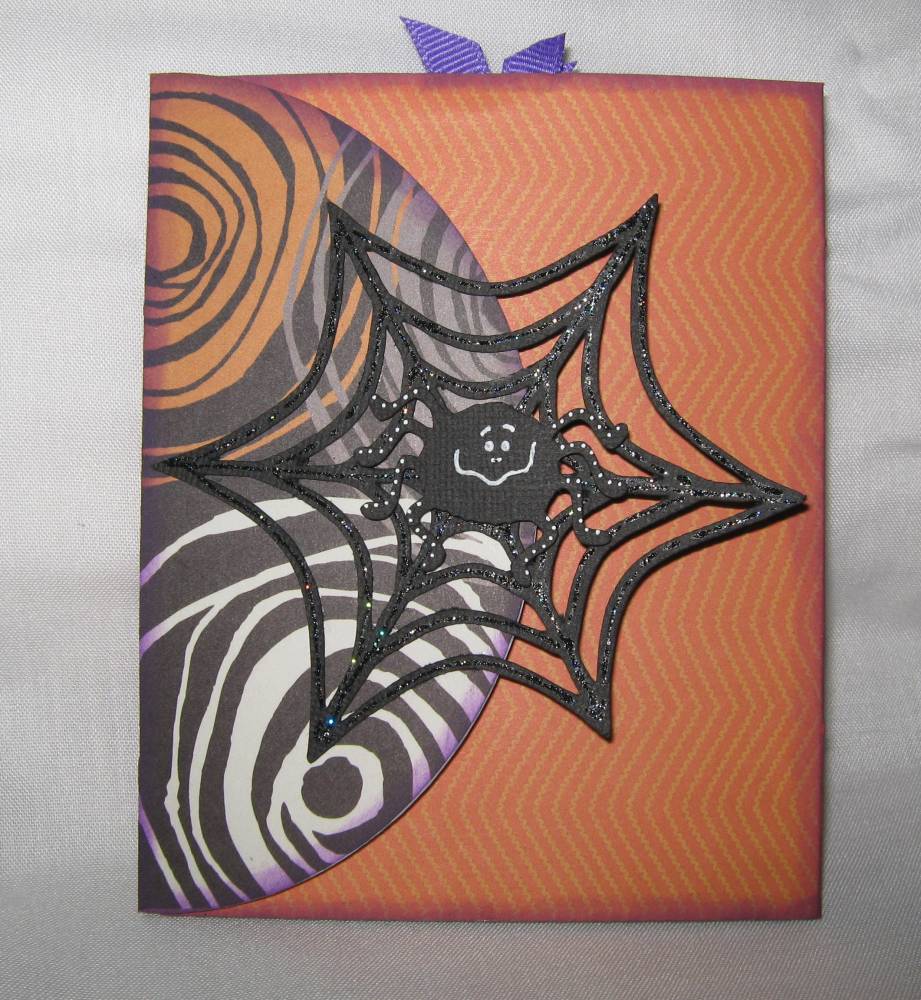
I did use the Threading Water punch on this on
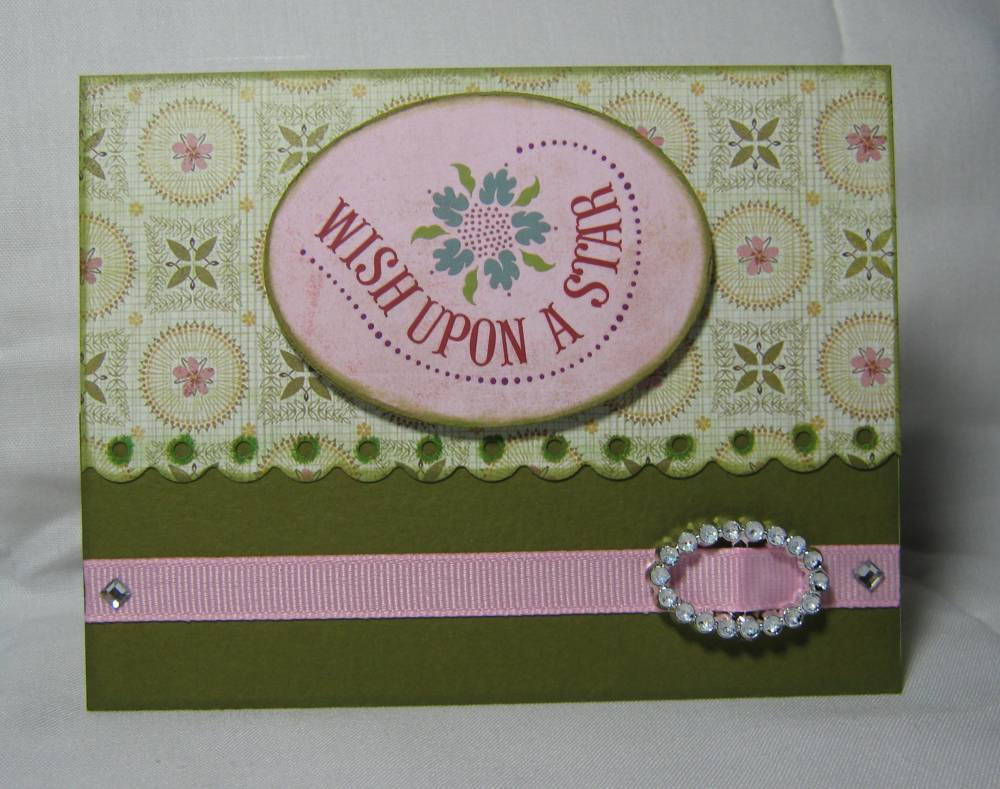
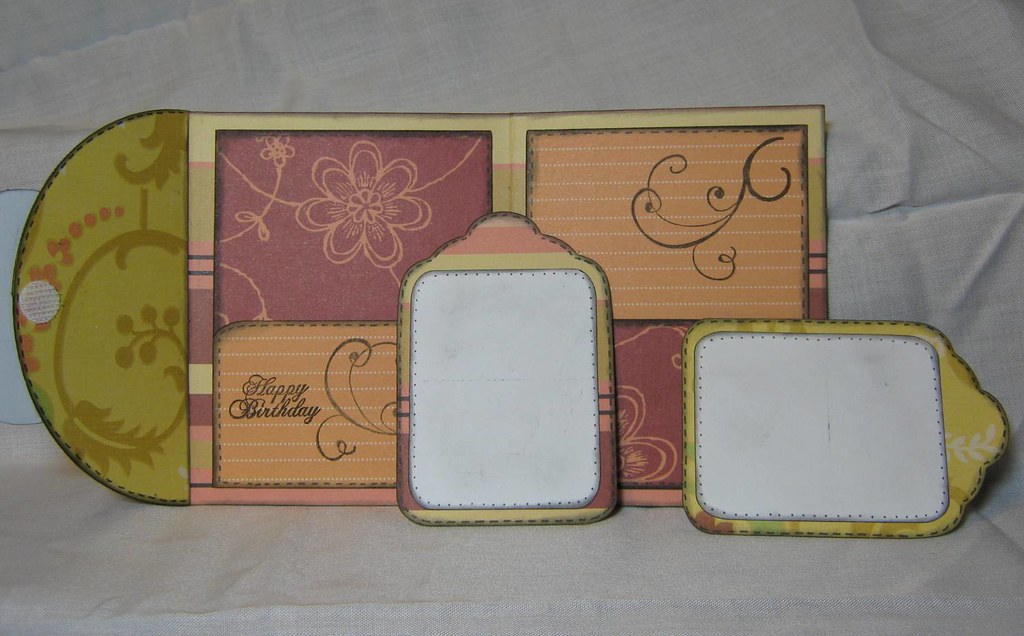
e.....have you ever thought about the name of that punch? It doesn't look a thing like water, nor does it look like it is thread....not sure where they got the name....but I do like the punch!! I got the ribbon buckle in a pack from LTD commodities. It is the first time I have used one.....and I like it.....what do you think of it? I cut the oval with one of those Fiskar templates and then also cut one on chipboard. It is pop dotted and stands up from the card. I used the cat eye chalk ink on this one. I am really loving the Olive Pastel!! Oh yes...and there are two little pieces of bling. I think this one makes a nice birthday card with the sentiment on the front!!
Oh and don't forget......if you have a hard time seeing the details you can click the picture and it will open up bigger for ya!

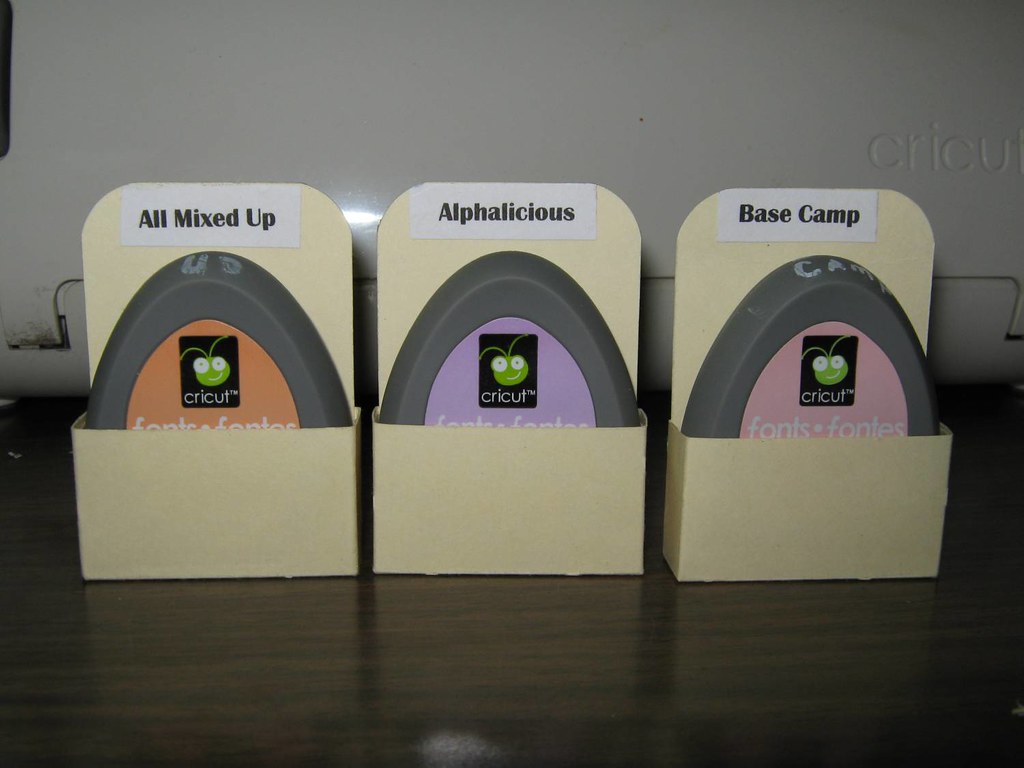
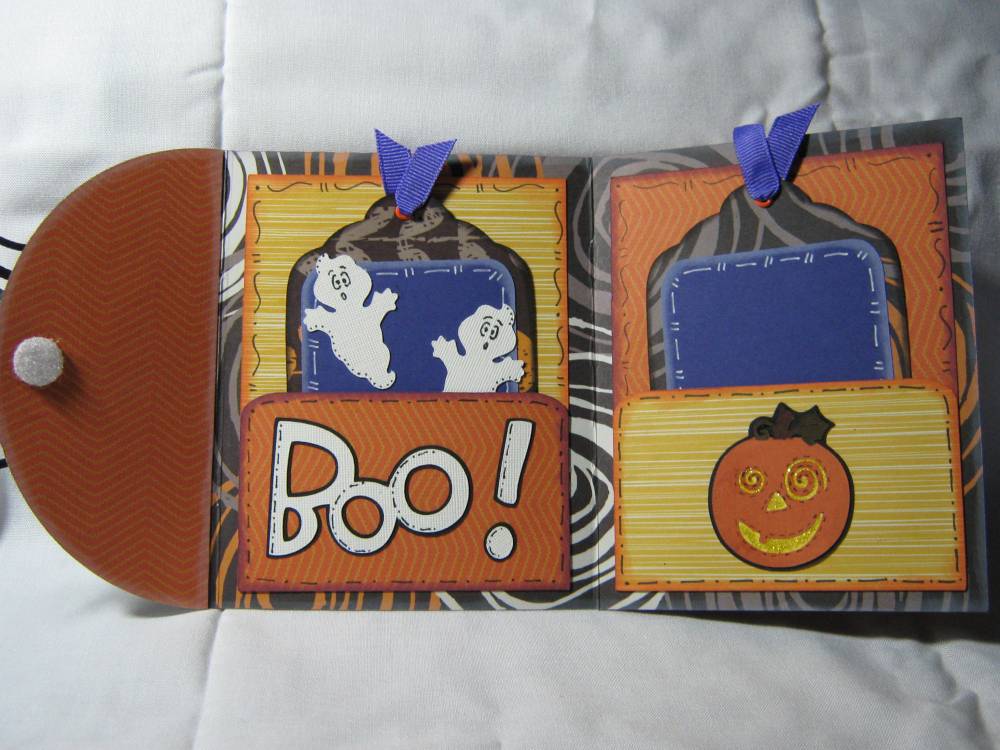
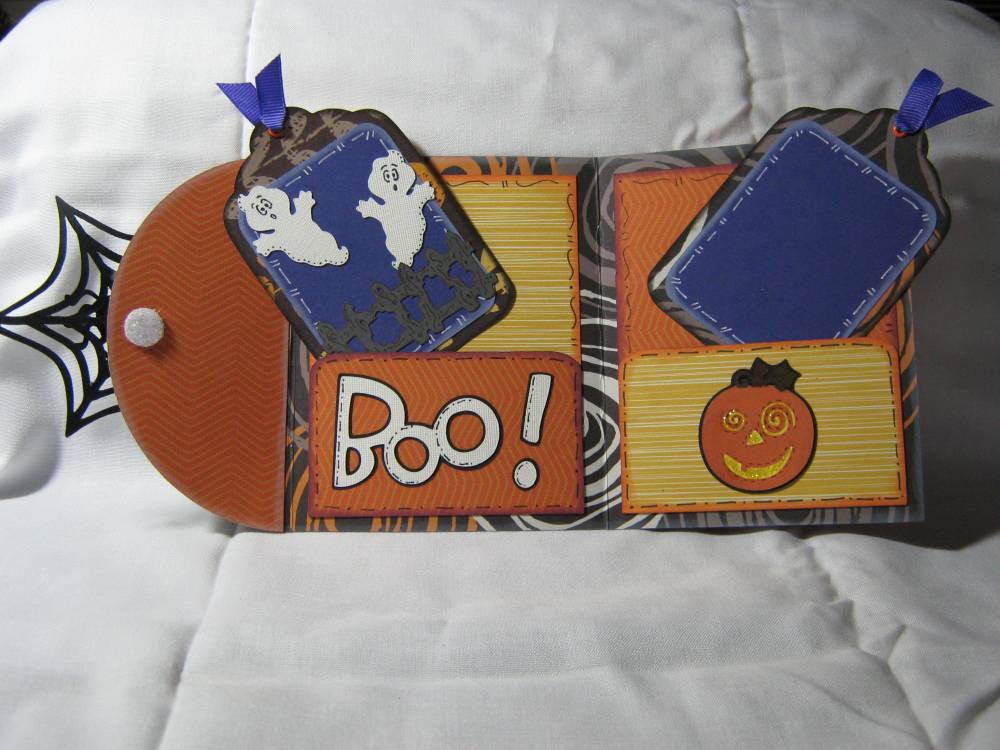
 did tonight. They are those magnetic frames for the fridge. I decided I wanted to decorate them up and will use them as gifts.